Thinking about growing an aloe vera plant from just a leaf? Many plants can be propagated from a leaf cutting. Gardening expert Emily Horn explores the possibility of propagating Aloe vera from a single leaf and whether it’s a viable option to try.
Enjoying propagating plants, whether it’s dividing large plants, taking stem cuttings, or sowing seeds can be empowering. However, the challenge lies in dealing with the abundance of new plants if successful. These plants make great gifts for neighbors or fellow plant enthusiasts at swap events.
If you’re inclined towards cultivation, Aloe vera is an excellent plant to start your propagation journey. Let’s delve deeper to understand if growing Aloe vera from a single leaf is feasible!
The Short Answer
Yes, you can grow a new aloe plant from just one single leaf. Start by selecting a healthy, plump green leaf without any blemishes. Cut the leaf from the aloe’s stem using a clean, sharp knife. Allow the cut end to dry on a paper towel away from direct sunlight until it forms a callus in 3-5 days. Plant the callused leaf in well-draining potting mix suitable for cacti and succulents. In a few weeks, roots will develop, giving rise to your new aloe vera plant.
The Long Answer
Having established that Aloe vera can indeed grow from a leaf cutting, the process requires attention to detail for successful plant cultivation. Let’s explore the essential steps involved in achieving a thriving Aloe plant through cuttings.
Watering

While it may not seem crucial, proper watering is integral to successful Aloe propagation. Since the leaf cutting will lack a developed root system, ensuring the leaf is well-hydrated is vital to sustaining its moisture needs until roots develop.
Prior to taking the cutting, thoroughly water the mother plant to allow the leaf to absorb as much water as possible. This pre-cut watering helps the plant store enough moisture, aiding in the success of the cutting. Different watering methods, like top watering or bottom watering, can be employed to ensure thorough hydration.
Checking the health of the leaf before taking the cutting is essential. Avoid leaves with damage, disease, or pests, and opt for green, plump, and spot-free leaves to increase the chances of successful propagation.
Taking Your Cutting
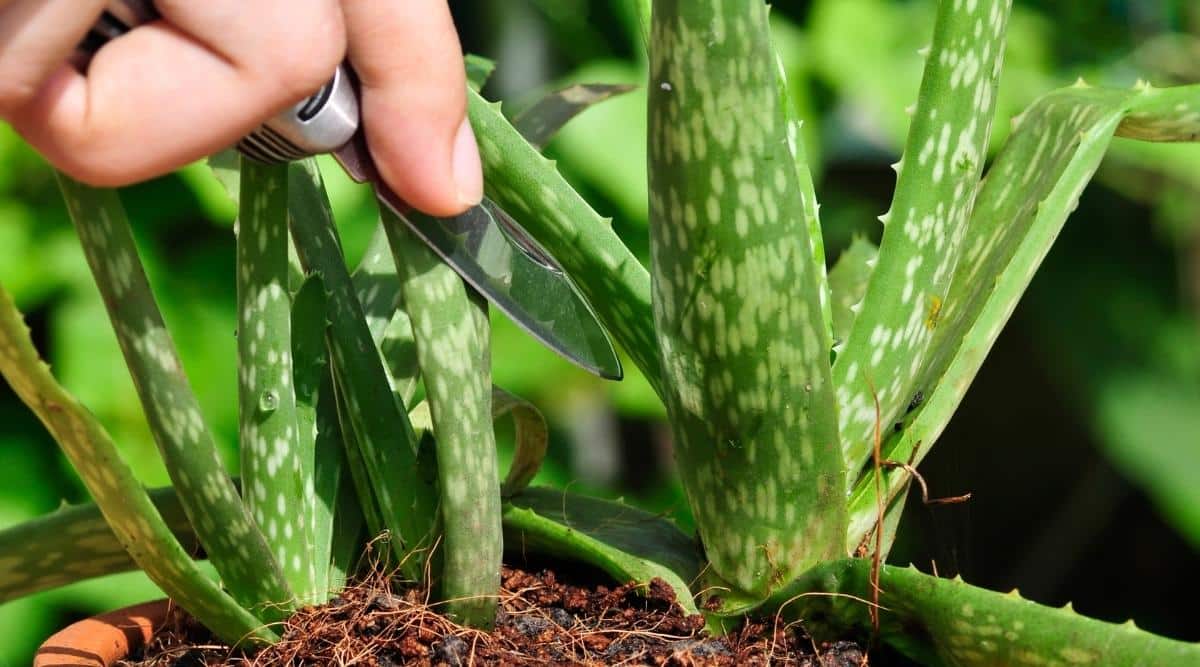
Check the mother plant hydration first. Find the leaf you wish to propagate from, and with a sharp, clean tool, proceed to cut.
Prioritize tool maintenance with sharpness and cleanliness during plant pruning. Ragged cuts from blunt tools hinder proper healing and serve as entry points for pests and diseases, propagated through unclean tools.
Utilize isopropyl alcohol to disinfect tools by wiping away debris before sterilizing the surfaces thoroughly. The alcohol’s action eliminates bacterial, viral, and fungal risks, safeguarding plant health.
To obtain a clean aloe leaf cutting, use a knife near the stem, as thick aloe leaves can obstruct pruner access to ensure a precise, neighboring-leaf-free incision.
At the incision site, allow time for the cut to callus, akin to scab formation, protecting the plant from diseases by sealing off the wound and retaining sap within the leaf.
After a few days, position the callused leaf on an absorbent surface away from direct sunlight to mitigate sap leakage, while the callus strengthens, preparing for the next propagation step.
Sticking Your Cutting

Sticking a cutting means inserting the new cutting into suitable soil after selecting the appropriate container and soil for aloe vera’s growth requirements.
Use well-draining, coarse cacti and succulent mixes that mimic desert soils, comprising both organic and inorganic components for optimal moisture retention without waterlogging.
Avoid fertilization during initial planting stages, as it may harm new roots, causing stress to the developing aloe plant due to fertilizer salts potentially causing root burns.
Picking a Container
Checking for drainage holes in your container is crucial when dealing with aloe vera plants, as they prefer well-draining soil due to their desert nature.
If excess water has no means of escape due to the lack of drainage holes in the pot, the plant’s roots may eventually rot, leading to a decline in its health or premature death.
To avoid messy situations or soil spillage during watering, consider adding a piece of window screen over the drainage hole to keep soil intact while allowing excess water to flow out.
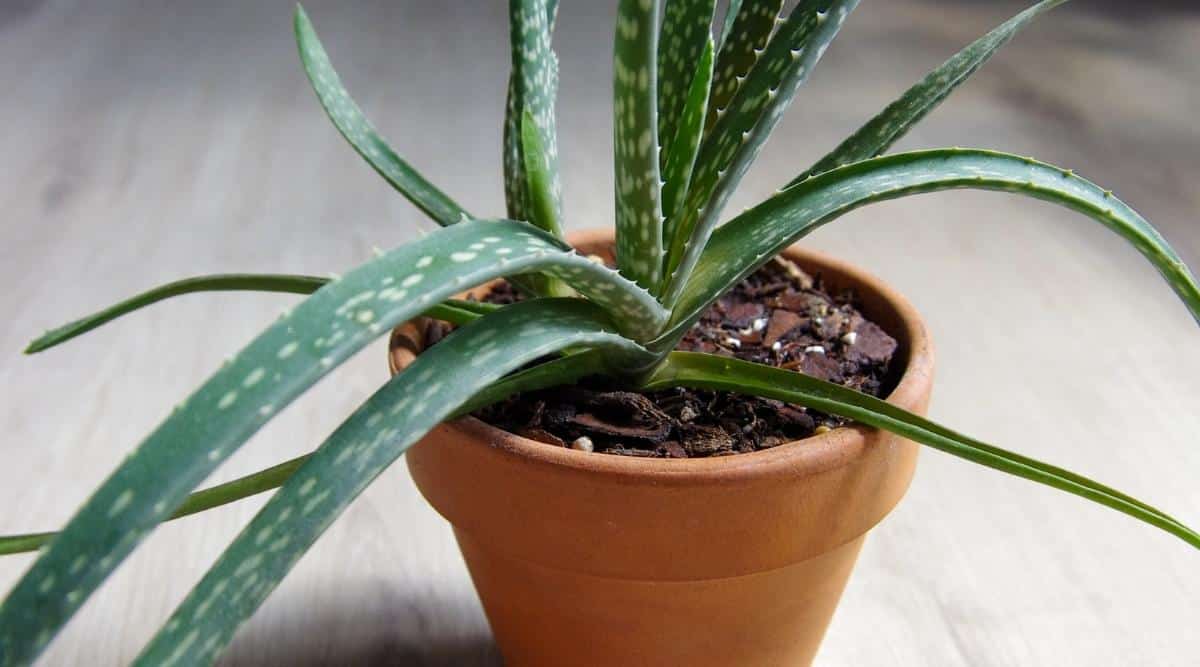
Planting
With the right container and potting mix ready, plant your callused leaf by filling the pot with slightly damp cactus soil mix leaving half an inch space from the top.
Create a hole in the soil with your finger to accommodate the leaf cutting ensuring that at least one-third of the leaf is below the soil surface.
Position the leaf in the mix with the callused end down and gently firm the soil around it for good contact and stability.
Remember to water the soil around the leaf slightly to eliminate air pockets that could hinder root formation. Place the pot near a window for indirect light and water regularly to keep the soil from drying out.
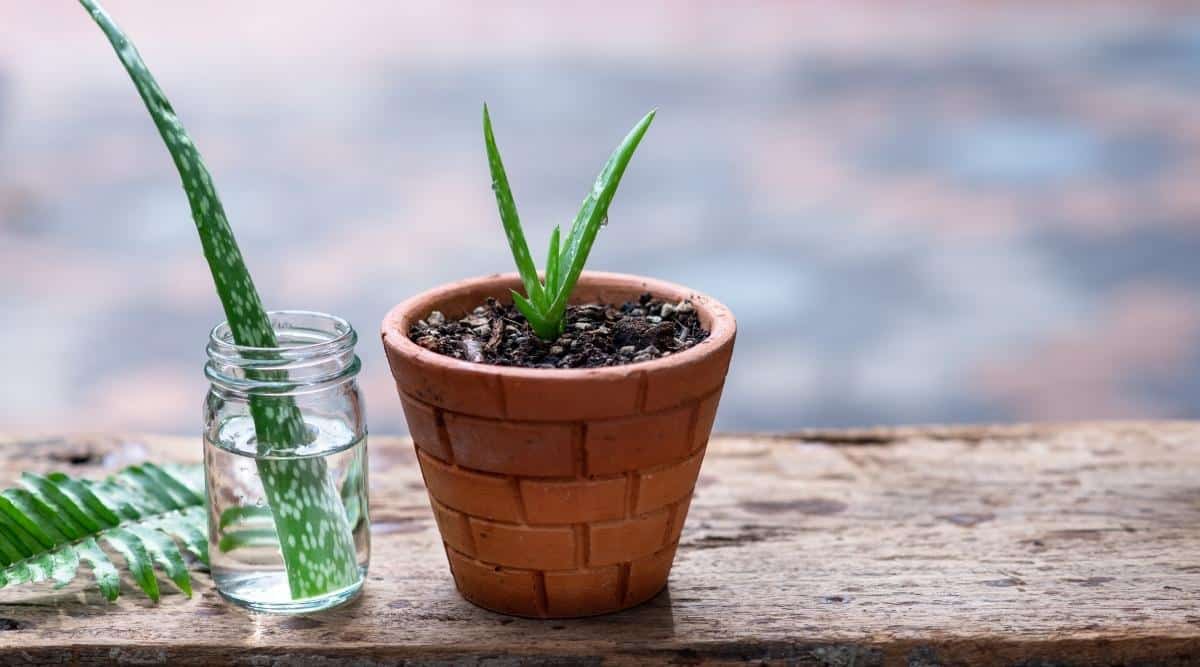
New Plant Growth
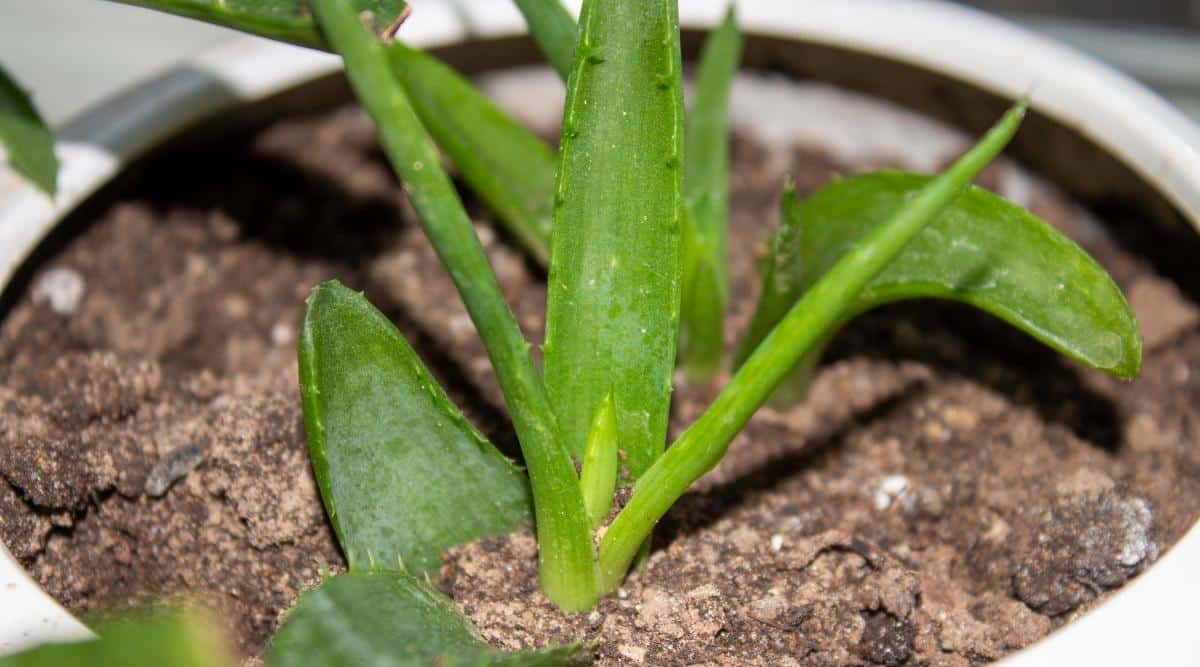
After about 3-4 weeks, roots should start forming on your cutting. Avoid disturbing the soil as this can harm any developing roots.
Look out for small green shoots emerging from the soil surface, indicating successful root development and transformation of the leaf cutting into a thriving plant.
As the plant grows, ensure it receives sufficient indirect sunlight daily and monitor its watering needs according to its environment, maintaining a regular check to meet its basic requirements.
Frequently Asked Questions
Is indirect sunlight necessary for Aloe Vera?
Yes, Aloe Vera plants thrive under indirect sunlight conditions. Indirect sunlight excludes direct sun-rays, ensuring a bright environment without direct exposure, like through curtains or window treatments.
Should I fertilize my Aloe Vera plant?
Aloe Vera prefers minimal nutrients, so regular fertilization is typically unnecessary. However, providing some fertilizer yearly during the late summer or early fall as it exits dormancy can be beneficial for mature plants since it ensures ample nutrient availability.