
Are you interested in expanding your succulent collection through propagation but unsure where to start? Succulents can easily be propagated from single leaves with the right techniques. Let gardening expert Madison Moulton guide you through the steps required for successful propagation.
If you’ve recently developed a fascination with succulents, you’re part of a growing trend among gardeners. Sharing collections online has sparked immense interest in these unique plants.
Joining the succulent club doesn’t have to be expensive, especially with the prospect of propagation. Succulents, across various species, are among the most beginner-friendly plants to propagate, often growing from just a single leaf.
Take advantage of this comprehensive guide to propagate your preferred succulents from leaves or cuttings, allowing you to enhance your collection in a matter of weeks.
Video Walkthrough
If you prefer a visual guide to succulent propagation, watch the video that demonstrates each step of the process. You’ll learn how to propagate succulents from single leaves and stem cuttings.
About Succulents
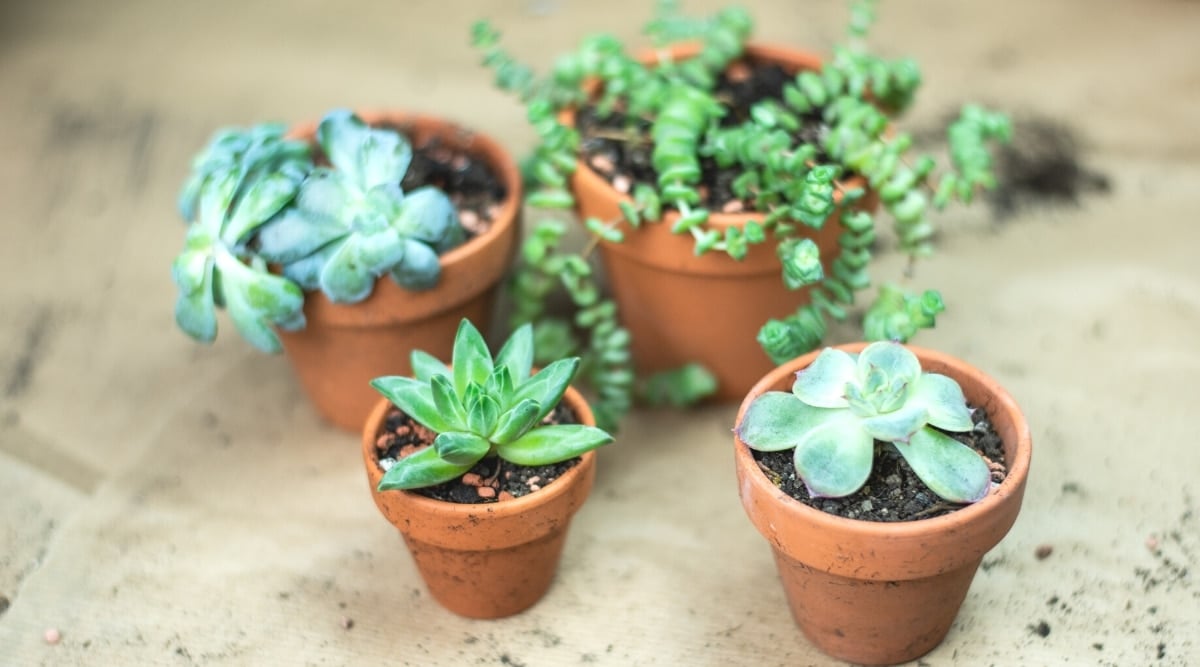
If remembering to water plants isn’t your strong suit or if you prefer low-maintenance options over traditional garden favorites, succulents are the perfect choice. Embraced worldwide for their intriguing shapes, easy care, and stunning flowers, succulents are a favorite among plant enthusiasts.
While “succulent” is not a formal botanical term, these plants share traits such as juicy, thick leaves that store water effectively, enabling them to survive extended periods without watering.
Succulents are commonly found in arid environments where water is scarce, like Aloe Vera and Hens and Chicks in desert climates. They thrive in well-draining soil, dry air, and occasional heavy rains that replenish the water stored in their leaves. Some grow in rocky terrains near mountains, while others thrive in humid jungle habitats.
Despite the variety in succulent species, their thick leaves make them easily identifiable. Plants with slightly thinner leaves that retain water and are drought-tolerant may fall into the semi-succulent category.
Why Propagate Succulents
Propagation is an engaging gardening practice akin to plant magic, allowing you to multiply your favorite plants at no cost. Succulents, in particular, offer a straightforward propagation process.
Various methods can be used to propagate succulents, with single-leaf propagation being a popular choice. Succulents often produce clusters of leaves in a tight arrangement, making it easy to pluck one and start the propagation process to create a miniature version of the original plant within a few weeks.
Cutting propagation is another effective technique that quickly enhances the fullness of a plant. This method is beneficial for succulents suffering from elongation due to inadequate sunlight. Compact cuttings will transform one plant into several without compromising their appearance due to improper conditions.
For rare succulent species, propagation offers a way to create healthy replicas without the need to purchase additional plants. You can continue to nurture these replicas or share them with friends and family.
Succulent propagation can be done year-round, but optimal results are observed when the plant is actively growing, typically in spring and summer for most succulents.
How To Propagate Succulents from Leaves
For those with overflowing succulents boasting dense leaf growth, opting to propagate from single leaves can be the ideal choice. While it may take some time for the plants to mature, this method can yield a larger number of plants compared to propagating from cuttings simultaneously.
Ensure your succulents are well-hydrated a few days before propagation to ensure the leaves are plump and filled with moisture.
Step 1: Picking the Right Leaf

The initial step in the propagation process involves choosing the right leaf. It is recommended to pick multiple leaves simultaneously to enhance stock and account for any leaves that may not root successfully. The selection quantity may vary based on your plant’s size and the number of plantlets you wish to nurture concurrently.
Ensure the leaf you choose is entirely healthy and devoid of any signs of disease or damage. Healthy leaves are more likely to root and generate robust plantlets. Although leaves of any size can root effectively, larger leaves are easier to manage and tend to produce plantlets more promptly.
When identifying leaves for removal, keep in mind that most leaves should remain on the parent plant. Avoid removing more than one-third of the plant at once and maintain balance in your selection. Opt for leaves from all sides and consider the plant’s post-removal appearance.
Step 2: Detaching the Leaf

The leaf removal process for most succulents is remarkably simple, requiring no specialized tools or techniques, only your hands and a healthy plant.
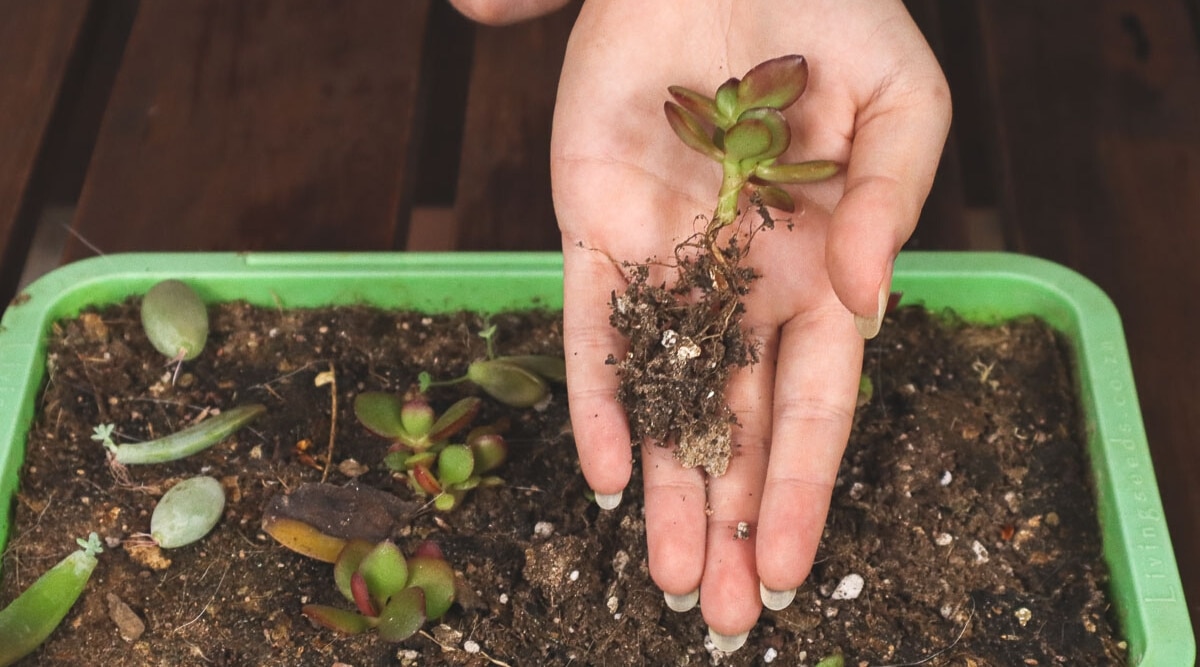
To detach the chosen leaves, gently pull them off the plant at the leaf’s base. Exercise care to avoid damaging the leaf or the parent plant. As long as the leaf cleanly detaches from the stem, you can either twist or pull it upwards or downwards.
It is acceptable if some stem parts accompany the leaf. However, ensure the leaf’s base does not remain on the plant, as without this section, the leaf cannot develop roots or a plantlet, leading to its eventual demise.
Step 3: Allowing the Leaf to Callous

This phase requires patience, as succulents need time to form a callous and heal before rooting. This process seals any open wounds, preventing moisture around the leaf from causing rot.
You have two options here. You can remove the leaves and place them on individual newspaper sheets to maintain dryness. Alternatively, if the plant’s soil is dry and no watering is imminent, you can lay them around the plant’s base.
Personally, I lean towards the latter approach as a somewhat lazy gardener, although using newspaper can reduce the probability of growth issues or rot.
This healing process typically lasts a few days, contingent on the propagated plant. Once the leaf ends dry out, you can prepare to transfer them to soil.
When it comes to potting your succulents, you have the option of buying a pre-made mix from a local nursery or creating your own blend. For a simple DIY mix, combine two parts potting mix with one part sand and one part perlite or fine gravel, adjusting the ratios based on your succulent’s needs.
Planting in soil involves preparing a container with your custom succulent mix and laying the leaves gently on top, ensuring proper spacing for root development. The debate over moisture levels persists, with some suggesting moistening the soil beforehand, while others advocate for only moistening the tips of the leaves or avoiding water altogether to prevent rot.
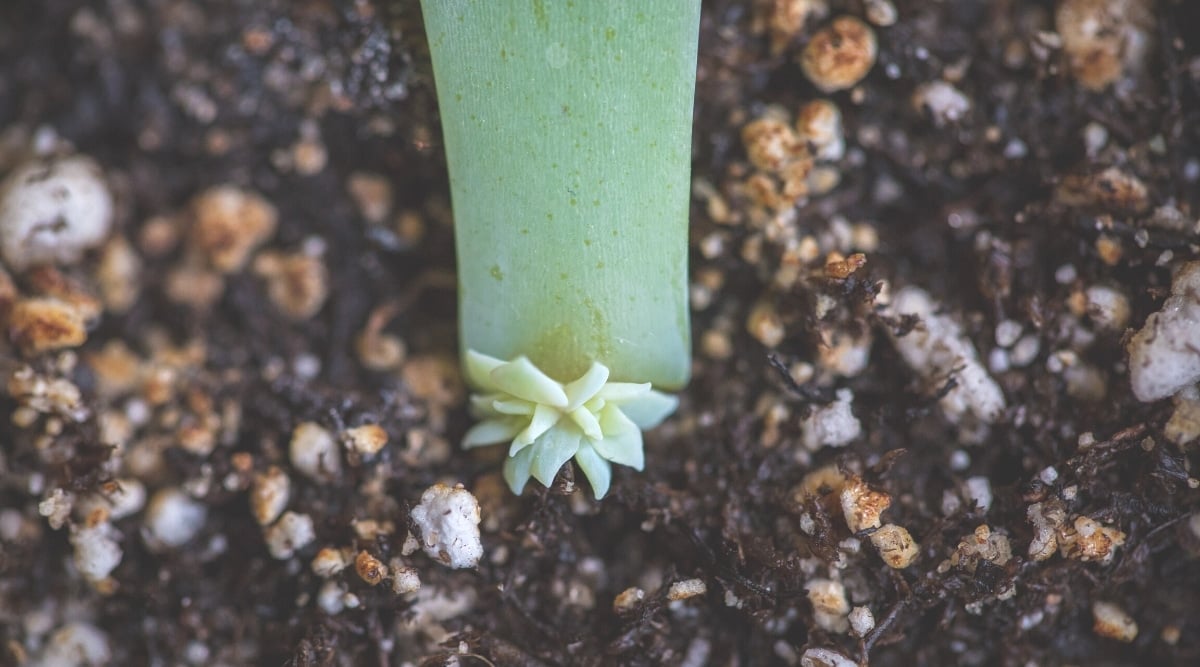
In regions with high humidity like mine, I often refrain from watering the leaves directly, allowing natural conditions to aid in rooting. However, if you reside in a drier climate, occasional misting of the leaf ends may be necessary to stimulate plantlet growth. Position the container in a well-lit area with indirect sunlight and exercise patience as the roots begin to establish, typically taking a few weeks depending on the succulent species and leaf size.
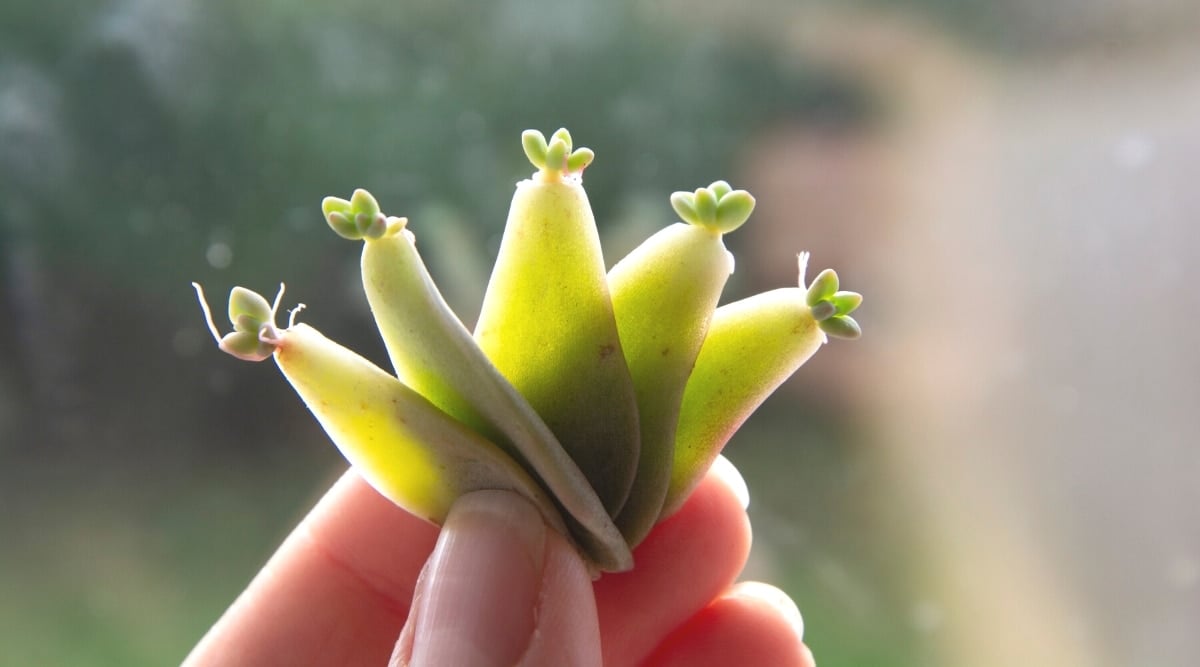
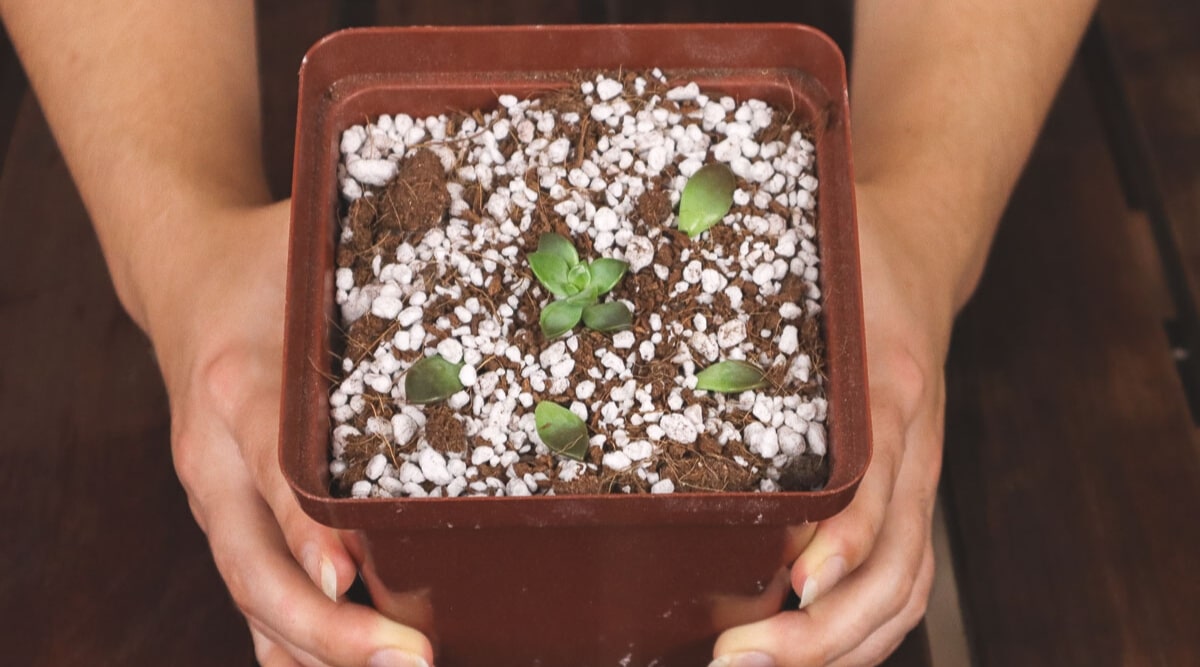
As plantlets emerge and mature, transfer them to individual pots once they are robust enough to thrive independently, keeping the original leaf attached until ample roots have developed. Once the succulent has successfully rooted, you can remove the old leaf for aesthetics.
Propagating succulents from cuttings is ideal for species with vining characteristics or elongated stems, serving as a remedy for stretched plants. Despite requiring additional tools, this method is straightforward and involves cleaning your shears before making any cuts.
Ensure your cutting tools are disinfected before proceeding to remove a healthy section of the plant, considering the plant’s balance and aesthetics. Trim just below a leaf set, stripping the lower leaves to expose part of the stem, which helps in preventing rot. Concurrently, if your succulent propagates from individual leaves, utilize them for propagation rather than discarding them.
Allow the cuttings to callous over before planting to enhance root establishment. Prioritize cleanliness and hygiene in your propagation process to safeguard the health of your succulents and prevent the spread of diseases between plants.

Begin by placing your cuttings on a newspaper-lined tray to dry. It’s essential to give them ample time to dry out and allow any wounds to heal. This callous formation serves as a protective barrier, preventing excessive moisture from causing rot once the cuttings are planted.
For some semi-succulent varieties, you might be able to skip this step and proceed directly to planting. However, for thicker stems that retain moisture, it’s advisable to wait until the cuts have calloused. Once the cut end changes color after a couple of days, you can proceed with planting.
Step 4: Prepare Your Soil Mix
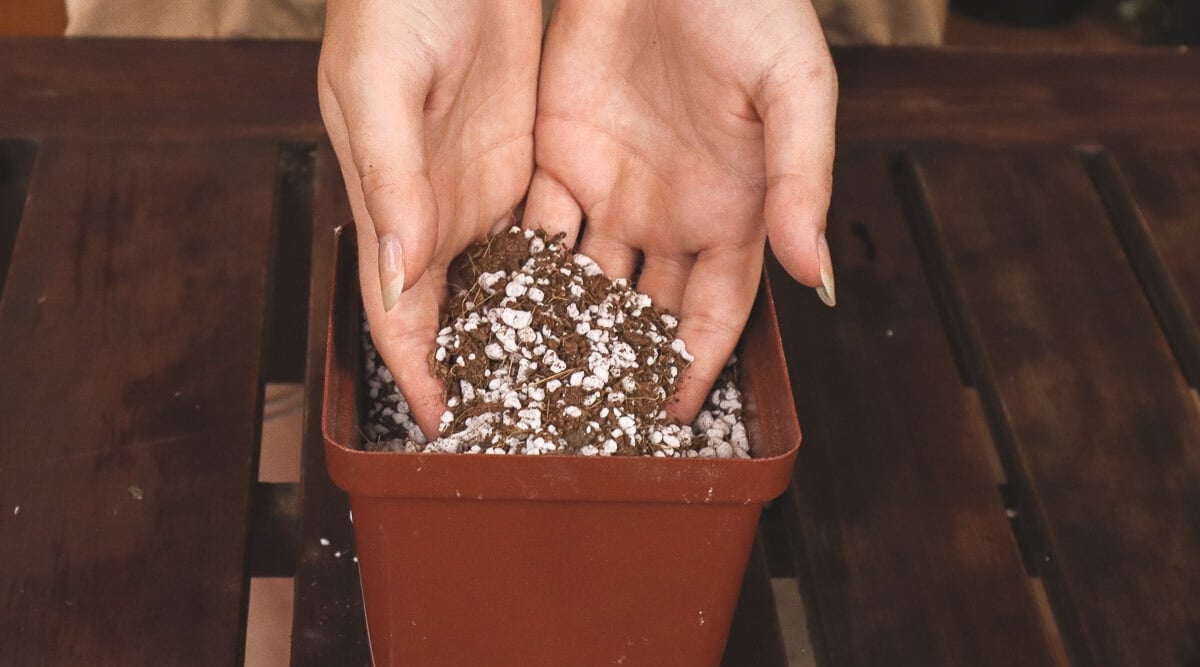
Set the cuttings aside and focus on preparing your soil mix. Ensure the mix is well-draining and doesn’t retain excess moisture. Also, confirm that your chosen container has sufficient drainage to prevent waterlogging.
Step 5: Plant the Cutting
To plant, gently make shallow holes in the soil and carefully position the stems. Ensure that all leaves remain above the soil level. Fill any gaps around the base with additional soil, gently pressing it down. Water lightly after planting to encourage root growth but avoid overwatering.
Post-Propagation Care
Once planted, move your cuttings to a sunny location to stimulate growth. Care for them as you would any other succulent in your collection. If after a few weeks there’s no sign of rooting and the cuttings show signs of decay, remove them and focus on the successful ones. Although slow-growing, these cuttings will eventually mature into plants resembling their parent.
Final Thoughts
Propagating succulents is both rewarding and straightforward when done correctly. Following the proper steps, providing adequate care, and a bit of patience are all it takes. Regularly take a few leaves or stems every few months to expand your succulent collection effortlessly!


 Succulent")
