
Looking to trim your aloe vera plant? If so, expert gardener Emily Horn has got you covered. In this comprehensive guide, she shares seven simple steps on how to effectively prune your aloe vera for optimal health and growth.
One fascinating aspect of plant care is the process of pruning. For example, when young children visit the desert room at the university, I often showcase the aloe vera plant by tearing off a leaf, causing the juice to trickle down. This action usually astounds the kids, emphasizing the significance of proper plant care, including pruning techniques.
Pruning can be a daunting task for new gardeners who may fear harming their plants. However, pruning is actually essential for the overall health and growth of your beloved plants. Let’s delve into the intricacies of pruning aloe vera plants in seven easy steps, ensuring they thrive in their environment.
Step 1: Evaluating Plant Condition

Start with a simple yet crucial task – observing the plant. Assess its overall structure, particularly if it shows signs of imbalance due to low light conditions or excessive pup production. Look for drooping, discolored, or damaged leaves, as these are prime candidates for pruning. A pre-pruning examination helps prevent inadvertently removing essential foliage.
Throughout the trimming process, continue to observe the plant’s transformation. After each snip, step back and assess the plant’s symmetry. Balance is key, so adjust your pruning strategy accordingly to achieve a harmonious appearance.
Step 2: Choosing the Right Tools

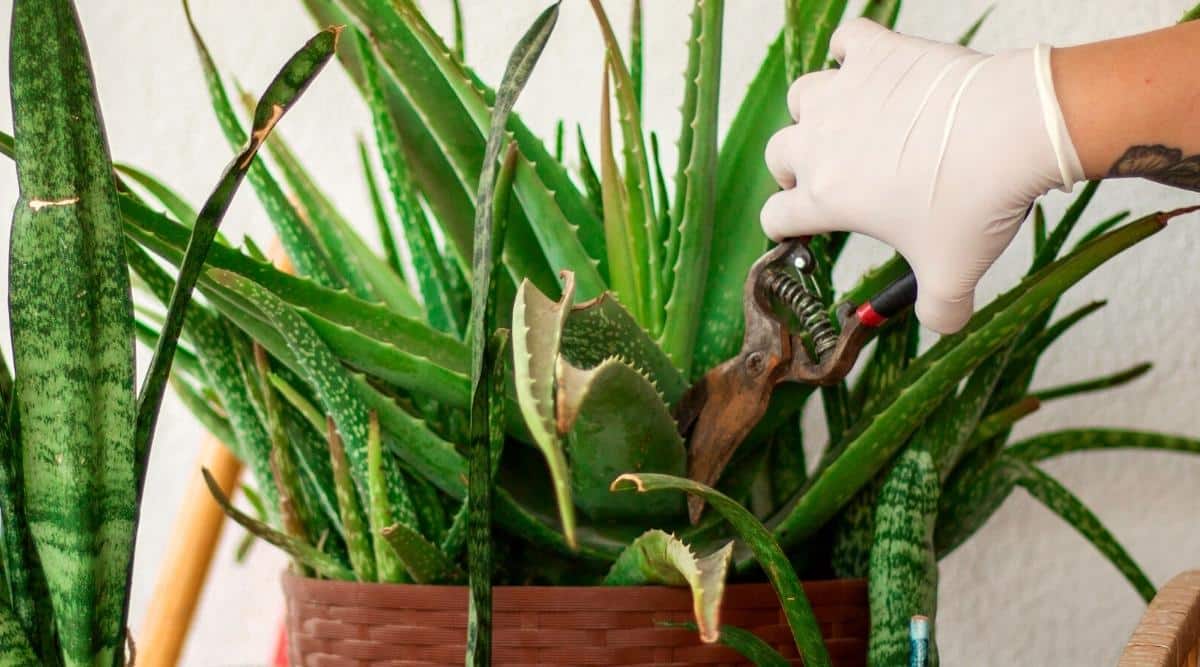
Various tools exist for plant pruning, but for aloe vera, a single-bladed knife proves most effective. Its sharpness facilitates clean cuts without damaging adjacent leaves or stems. Additionally, use ethanol or isopropyl alcohol to disinfect your tools, enhancing plant health and preventing the spread of diseases.
Pruning aloe vera requires precision to achieve optimal results. Using the right tools ensures a seamless pruning process, enabling your plant to flourish and thrive.
Step 3: Eliminating Deceased Foliage

While dead leaves are a natural part of a plant’s lifecycle, they should be promptly removed to encourage new growth. Employ scissors or pruning shears for robust dead leaves and ensure proper watering to maintain leaf health and overall plant vigor.
Keep a close eye on your aloe vera’s water needs to prevent leaf death and maintain its lush appearance. Adequate hydration is key to sustaining a healthy plant ecosystem.
Step 4: Pruning Aloe Vera Plants
With the growth of new leaves on your Aloe vera, the lower older leaves can take on a lighter, pale green, or yellow hue. As the plant channels nutrients to the fresh growth, the older leaves may lose their vitality.
The yellowing of these lower leaves could signal a lack of nourishment, specifically nitrogen deficiency, although Aloes can withstand nutrient-poor soil well. In some cases, overwatering may also lead to yellowing of older leaves.
If the yellow leaves bother you, it’s fine to remove them, but do so cautiously as these leaves are crucial for storing water. Be careful not to over-prune, as even yellow leaves contribute to photosynthesis and nourishment for the plant.
For stubborn yellow leaves, gently cut them at the base using a sharp knife. Use the extracted leaves to propagate new Aloe plants or harvest the gel for personal use.
Step 5: Remove Old Flower Stems
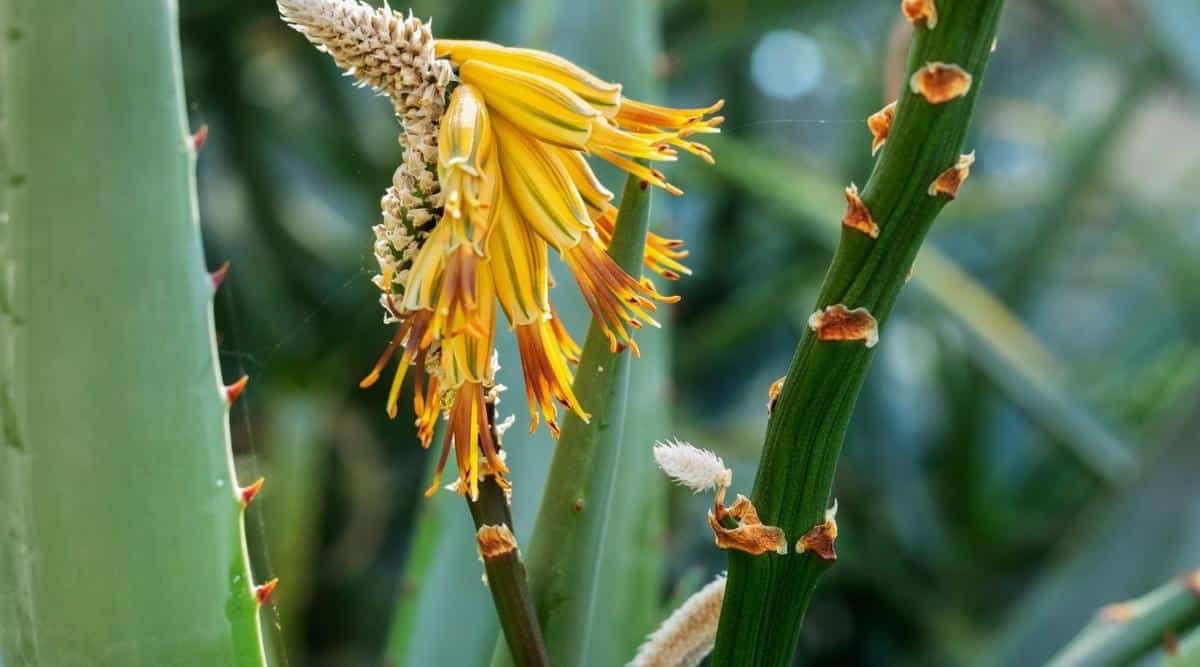
Once the bloom on your Aloe vera fades, you’ll observe a drying, straw-colored stalk left behind. Promptly remove this stem using sterilized pruners to prevent damage to the plant.
Locate the base of the flower stalk within the plant and swiftly snip it away in one motion. Avoid a sawing motion that may leave a jagged stem, marring the plant’s appearance.
Step 6: Separate New Pups
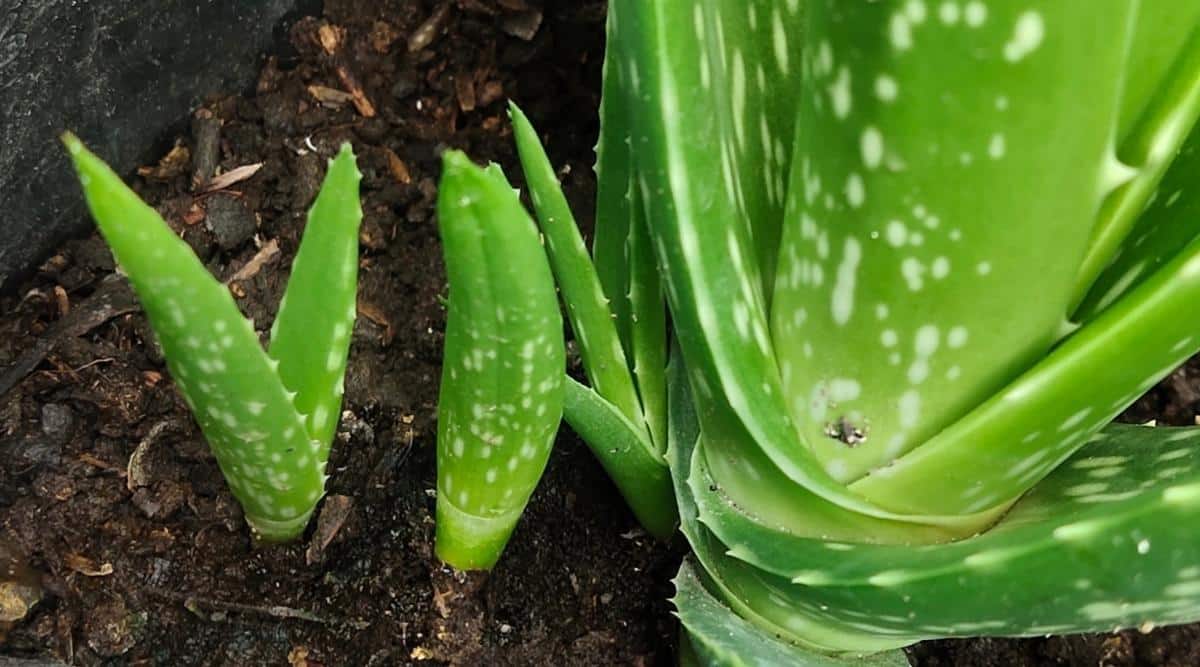
Maturing Aloe plants occasionally sprout small offspring, known as pups, at their base. These pups, independent plants, can be moved to separate pots to prevent the main plant from toppling due to uneven weight distribution.
To separate a pup, gently untangle its roots from the mother plant for transplantation. Alternatively, slice the pup away using a clean knife, focusing on the stem to preserve the leaves. Let rootless pups dry for 2-3 days before potting them.
Step 7: Prune The Roots
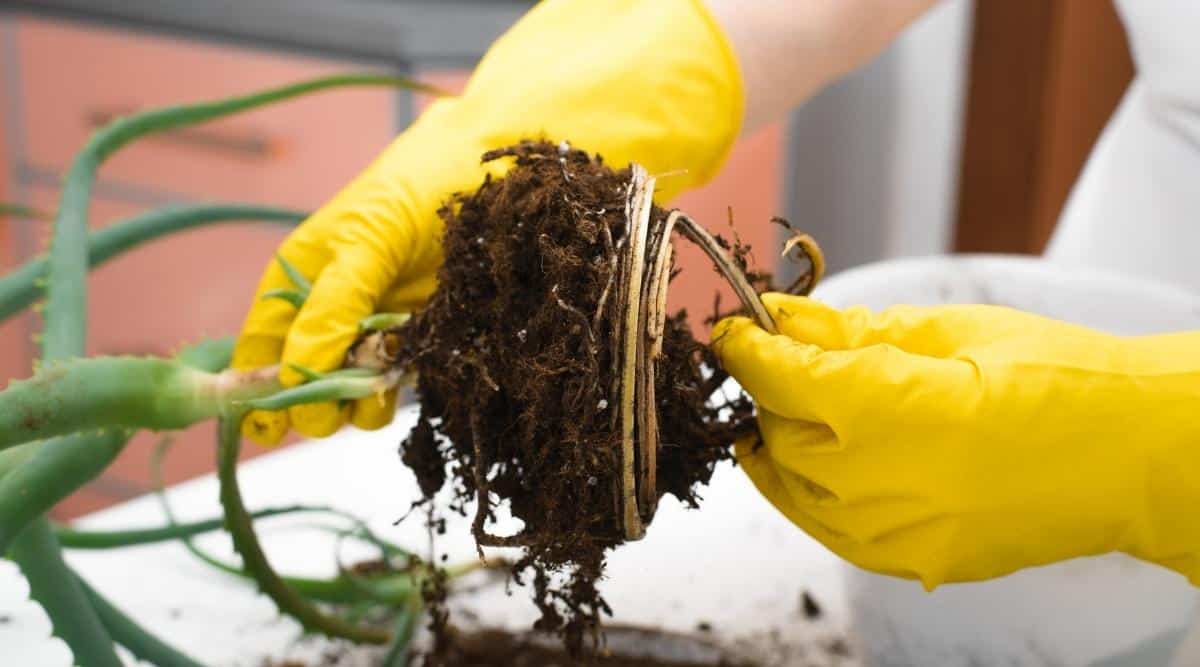
While root pruning is typically unnecessary for Aloe vera, it can revive root-deprived or rot-affected plants. Use sanitized pruners to trim back damaged roots, ensuring to retain healthy roots for stability and nutrient absorption.
If root rot is suspected, apply a rooting hormone after pruning to aid in root regeneration. Strike a balance between root removal and plant support to prevent toppling and stress on the plant.
Final Thoughts
Aloe vera tends to require minimal pruning when grown in favorable conditions. While pruning may not be a frequent task, maintaining cleanliness and disinfecting tools are essential for keeping your Aloe plant healthy in the long run.