
Are you new to the art of pruning your ficus tree and feeling overwhelmed? Fear not! Pruning doesn’t have to be a daunting task. Gardening expert Emily Horn is here to guide you through the necessary steps to ensure you prune your ficus tree properly without causing harm.
As someone deeply rooted in horticulture, I understand that pruning can be a scary prospect for many home gardeners. However, trimming your ficus tree is crucial for its well-being. It serves multiple purposes:
- Shaping your plant
- Removing damaged or diseased areas
- Eliminating weak and crossed branches
- Stimulating growth, despite how counterintuitive it may seem
When you stand before your ficus tree with pruning shears in hand, knowing where to start can be overwhelming. To simplify the process, I’ve outlined seven straightforward steps to aid you in your pruning journey.
Step 1: Protect Area From Sap
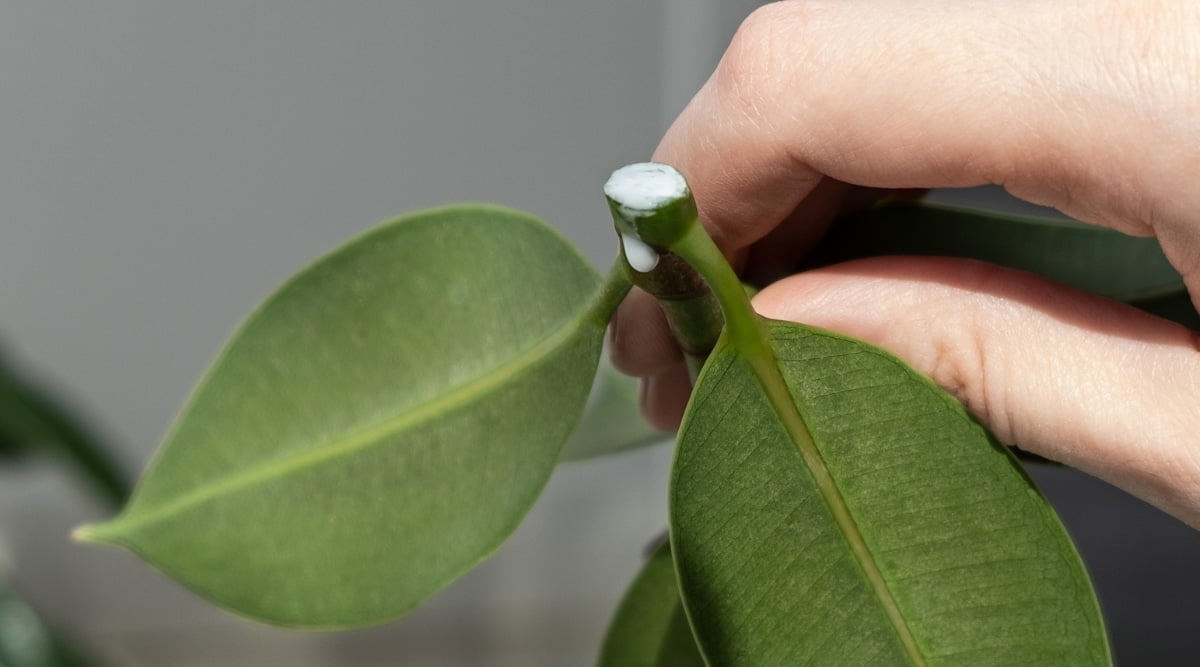
Before making any cuts, the first step involves safeguarding the nearby areas from the milky white sap that will flow once the plant’s tissues are incised. This liquid latex is very sticky and challenging to remove once dried on surfaces.
To prevent any mishaps, consider laying down a drop cloth or plastic sheet around the plant. This will catch any dripping sap, sparing your furniture and floors from potential stains. It’s also advisable to wear gloves and long sleeves to protect your skin and eyes from potential irritation caused by the sap.
Step 2: Clean Your Tools
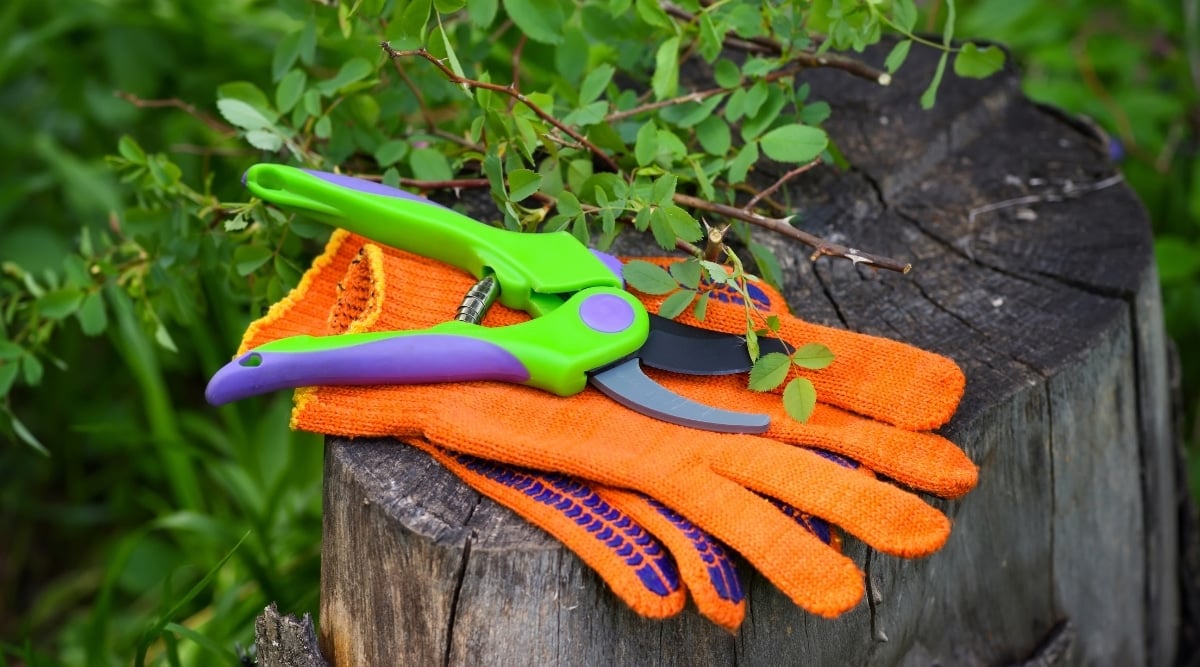
Prior to making any cuts, ensure your tools are sharp and clean. Dull pruners can cause irregular cuts, leading to improper healing of the plant tissue and making it susceptible to infections. Regular maintenance of your tools is essential to aid in the healing process post-pruning.
Proper tool cleaning is vital, as pathogens can easily spread between plants through contaminated equipment. To sanitize your pruners:
- Remove soil and debris.
- Wipe or apply isopropyl alcohol over the blades.
- Avoid contaminating the original alcohol container.
- Soak pruners in a diluted bleach solution.
- Rinse pruners with water after sanitizing.
Step 3: Remove Dead Branches
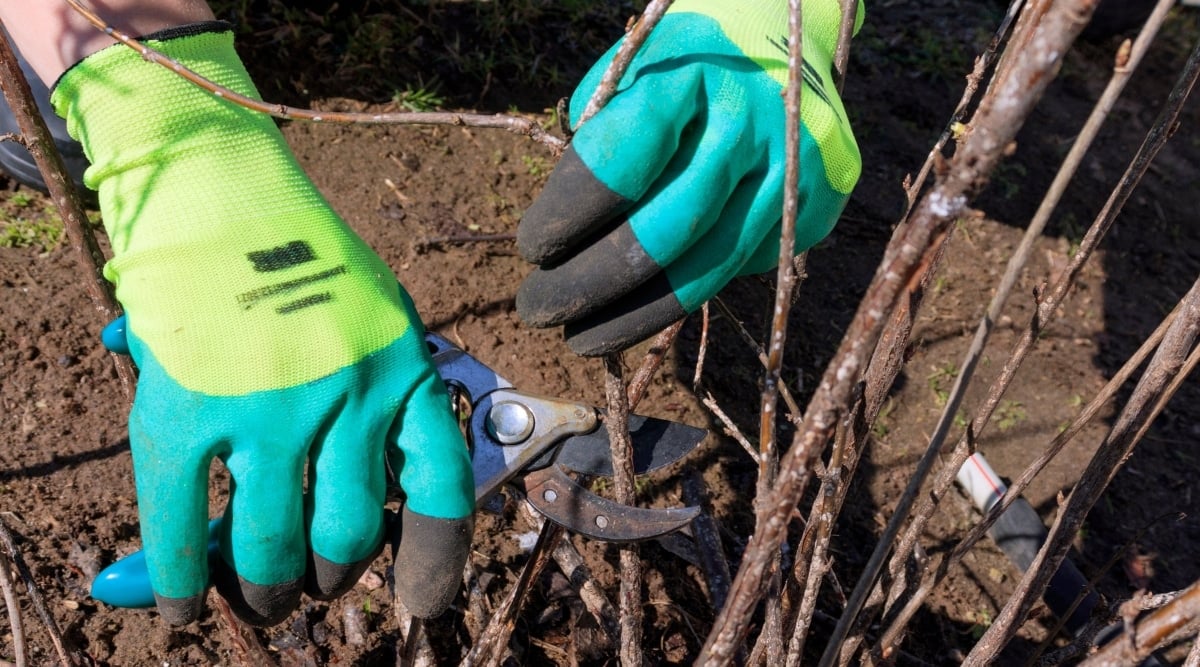
Throughout its lifespan, a plant naturally sheds leaves and branches. Removing these dead components is vital to promote new growth and maintain the plant’s health. Trim dead branches by cutting them at their connection point to the main stem or trunk.
Step 3: Proper Method of Pruning
When cutting branches with bypass pruners, it is essential to make a single cutting motion to avoid damaging the collar. Most bypass pruners can handle branches up to 1″ in thickness, and you should aim for a clean cut in one swift motion, rather than a sawing motion.
For branches that have new growth sprouting from a node along their length, it is best to prune at an angle just above the new growth. This technique encourages the new growth to flourish and replaces the unsightly part of the branch.
Step 4: Remove Disease-Infested Tissues
There might be overlap between diseased tissues and dead branches. It’s advisable to prune out any diseased tissues before the branch dies to prevent further spread. Look out for symptoms like greasy spots, yellowing near veins, brown leaf spots, or excessive leaf drop.
When removing diseased tissues, sanitize your pruners between cuts using 70% isopropyl alcohol to prevent spreading pathogens. Follow the same procedure as for removing dead branches to maintain the plant’s health.
Step 5: Fix Lopsided Growth
To address lopsided growth, carefully select branches that need trimming, aiming to remove no more than one-third of the total growth at once. Pruning above a leaf node can dictate the direction of new growth, encouraging outward and upward growth to achieve a balanced tree shape.
While outdoor plants may require certain branch directions for strength, indoor trees can accommodate inward and downward growth without issue. Feel free to trim these branches as necessary for a pleasing aesthetic.
Step 6: Consider the Time of the Year
Although indoor plants are not subject to seasons like outdoor plants, pruning in early spring is ideal for houseplants like ficus. Early spring boosts photosynthesis with lengthening daylight hours, leading to new growth. Pruning during this time removes dead branches, allowing light to penetrate deeper into the tree and stimulate new branch development.
Pruning in early spring helps control unbalanced growth and promotes rejuvenation of leaf and branch development. By pruning at this time, you encourage fuller growth and maintain a healthy, well-shaped ficus tree.
Step 7: Root Pruning
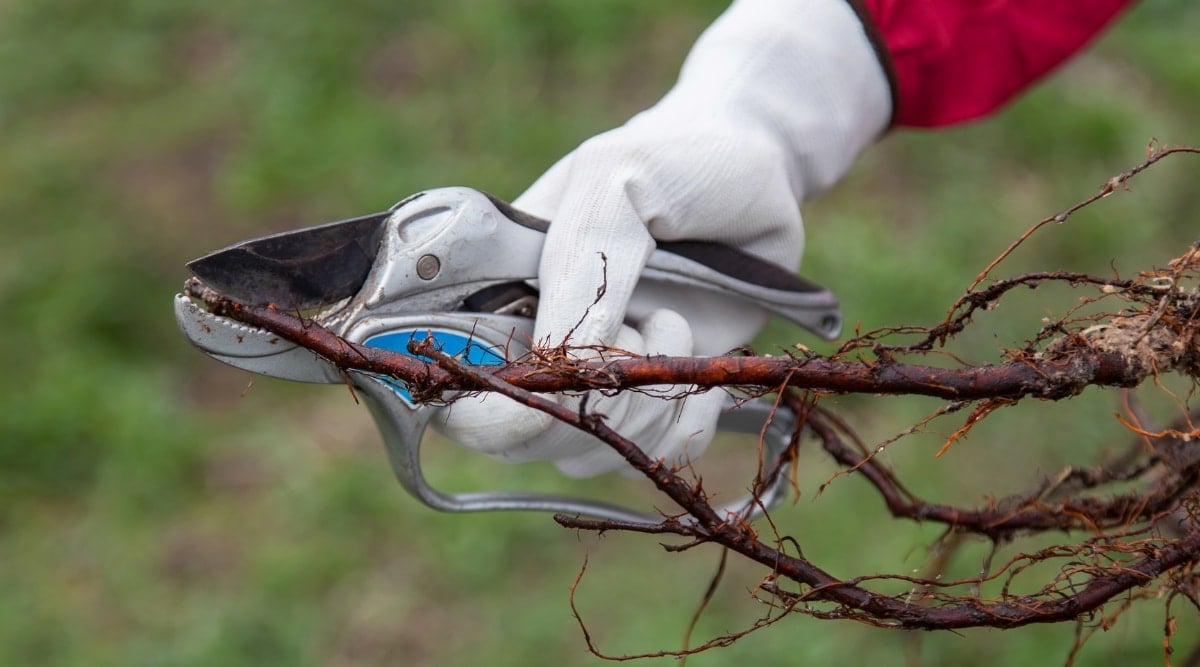
To ensure your ficus tree remains a manageable size, consider root pruning, especially if you have space constraints and want to prevent the tree from overpowering its surroundings.
Pruning the top of the plant involves trimming back leaves and branches. Even though this reduces the visible plant size, the roots remain substantial and adept at sustaining a larger canopy, promoting new leaf growth effectively.
For effective maintenance, it’s crucial to prune both the top canopy and the root ball. Here are the steps to follow:
- Remove the ficus tree from its pot and reduce a significant amount of potting soil from the roots.
- Trim no more than ⅓ of the root system at one time using sanitized pruners.
- Eradicate any diseased or damaged root sections carefully.
- Repot the plant and consider refreshing the soil if necessary.
Pruning the top of the plant is essential when root pruning. While a larger root system can sustain a smaller top, a smaller root system may struggle to support a larger canopy, resulting in imbalance, poor anchoring, and inadequate nutrient supply.
Closing Notes
Despite the messiness, regular ficus pruning plays a critical role in its care. Pruning encourages fresh growth, removes damaged branches, and enhances the overall appearance of the tree.
With knowledge of the ideal pruning practices, your ficus tree will flourish indoors, maintaining its beauty for years to come.